
To clean your shingle roof safely, start with proper safety gear and equipment, including a secured ladder and protective wear. Next, clear all loose debris with a leaf blower and soft-bristled brush, paying attention to valleys and gutters. Mix an oxygen bleach solution and apply it evenly with a garden sprayer, letting it sit for 15-20 minutes. Use gentle pressure washing techniques at 1,200-1,500 PSI, working downward from the peak. Implement preventive measures like quarterly inspections and zinc strips to maintain your roof’s condition long-term; these essential steps will guarantee ideal results.
Safety Preparation and Equipment Checklist

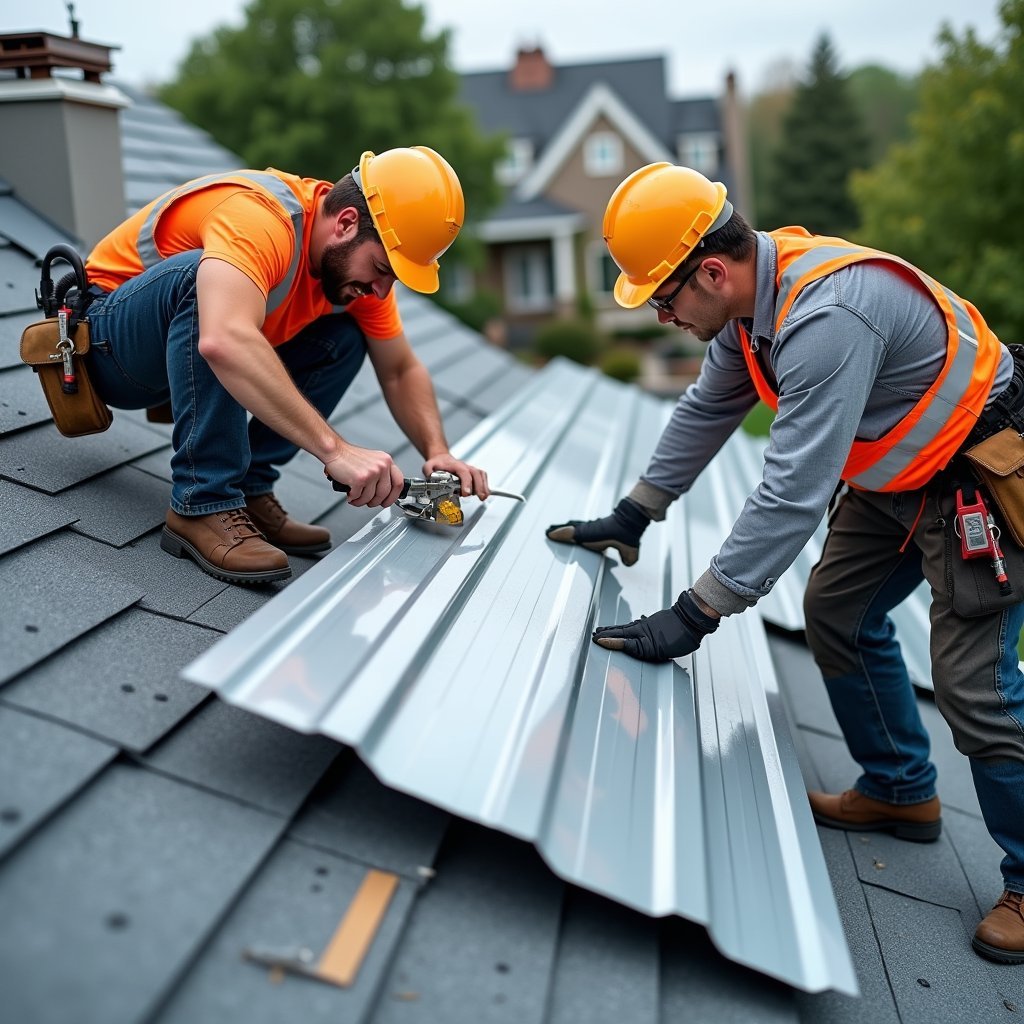
Three critical safety measures must be taken before cleaning your shingle roof. Initially, check weather conditions to guarantee a dry, wind-free day. Second, secure your ladder following proper ladder safety protocols, including setting it at a 75-degree angle and extending it 3 feet above the roofline. Third, put on complete safety gear, including non-slip shoes, safety harness, and protective eyewear.
Essential equipment needed:
- Garden hose with spray nozzle
- Soft-bristled brush
- Approved cleaning solution
- Safety harness and anchor points
- Rubber-soled shoes
- Safety goggles
- Heavy-duty gloves
- Sturdy extension ladder
- Safety rope
- First aid kit
Don’t proceed without proper safety gear or if you’re uncomfortable with heights. Consider hiring a professional if your roof is steep or in poor condition.
Inspect and Clear Loose Debris

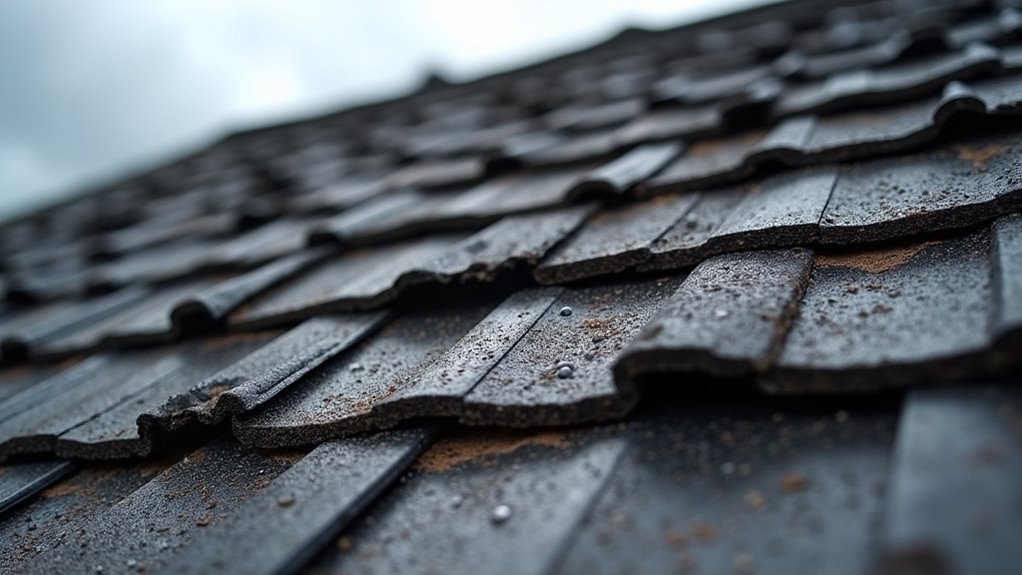
Before initiating any cleaning solutions, carefully inspect your roof’s surface and remove all loose debris to prevent drainage blockages and potential water damage. During your roof inspection, scan for accumulated leaves, twigs, pine needles, and other organic matter that can trap moisture against your shingles.
Use a leaf blower for initial debris removal on dry surfaces, working from the roof’s peak downward. For stubborn areas, employ a soft-bristled brush or roof rake, being careful not to damage the shingle granules. Pay special attention to valleys, corners, and areas around vents where debris tends to collect.
Don’t forget to clear your gutters and downspouts as part of this process. Clogged drainage systems can force water back under your shingles, leading to serious structural issues and expensive repairs.
Mix and Apply the Cleaning Solution

A proper cleaning solution combines oxygen bleach or TSP (trisodium phosphate) with water in a 1:1 ratio for effective moss and algae removal. Mix the solution in a garden sprayer for even application across your roof’s surface.
| Solution Type | Dilution Ratio | Application Method |
|---|---|---|
| Oxygen Bleach | 1:1 with water | Low-pressure spray |
| TSP | 1:1 with water | Garden sprayer |
| Commercial Cleaner | Per label | Pump sprayer |
| Natural Solution | 50/50 vinegar/water | Manual spray bottle |
Apply your cleaning solution on a cloudy day to prevent premature evaporation. Start at the roof’s peak and work downward, ensuring even coverage without oversaturating the shingles. Let the solution sit for 15-20 minutes, but don’t allow it to dry completely. You’ll need to maintain consistent wetness for maximum cleaning effectiveness.
Gentle Pressure Washing Techniques
After allowing your cleaning solution to penetrate the surface, proper pressure washing technique becomes your next priority. Position yourself at least 6 feet from the shingles and maintain a 45-degree angle with your spray nozzle. You’ll want to work downward from the roof’s peak, using steady, overlapping strokes.
Select a wide-spray nozzle (40 degrees or higher) to distribute water pressure evenly. These gentle techniques prevent damage to your shingles’ protective granules. Keep the water pressure between 1,200 and 1,500 PSI anything higher risks compromising your roof’s integrity. Don’t spray upward under the shingles, as this can force water beneath them. This careful approach to roof maintenance guarantees thorough cleaning while preserving your shingles’ longevity and weather-resistant properties.
Preventive Measures for Future Maintenance
Regular inspection and proactive care greatly extend your shingle roof’s lifespan. You’ll need to implement consistent roof maintenance practices and algae prevention strategies to protect your investment.
| Task | Frequency | Purpose |
|---|---|---|
| Visual Inspection | Quarterly | Spot damage early |
| Gutter Cleaning | Bi-annually | Prevent water backup |
| Trim Overhanging Branches | Annually | Reduce debris accumulation |
| Install Zinc Strips | Once | Prevent algae growth |
| Professional Assessment | Every 3 years | Expert evaluation |
Don’t wait for visible problems to develop. Install proper ventilation in your attic to regulate temperature and moisture levels. Keep your gutters clean and properly aligned to prevent water from seeping under shingles. If you spot any loose or damaged shingles, address them immediately to prevent more extensive damage. You’ll save significant money by catching issues early.
Frequently Asked Questions
How Often Should I Clean My Shingle Roof?
You should perform roof maintenance and cleaning every 3-5 years under normal conditions. However, if you live in areas with high humidity, heavy tree coverage, or frequent storms, you’ll need to clean your roof more frequently typically every 2-3 years. Don’t wait until you see visible algae or moss growth, as this indicates the problem has already progressed. Regular cleaning frequency helps prevent damage and extends your roof’s lifespan.
Can I Clean My Roof During Winter Months?
It’s not recommended to clean your roof during winter months due to significant safety risks. Winter roof maintenance requires extra precautions as surfaces become slippery from ice and snow. Cold temperatures can also make shingles brittle and more susceptible to damage. Furthermore, cleaning solutions might freeze before they’re effective. If you notice serious issues during winter, it’s best to contact a professional roofer who has proper safety equipment and winter-specific expertise.
Will Cleaning My Shingle Roof Void the Manufacturer’s Warranty?
Cleaning your shingle roof could void the manufacturer’s warranty if you don’t follow their specific maintenance guidelines. You’ll need to review your warranty terms carefully, as different manufacturers have varying requirements. Most warranties prohibit high-pressure washing and harsh chemicals, which can damage shingles. It’s recommended to document your cleaning methods and keep receipts if you hire professionals. When in doubt, contact your shingle manufacturer directly for approved cleaning procedures.
How Long Does a Professional Roof Cleaning Typically Take?
A professional roof cleaning typically takes 2-4 hours for an average-sized home (2,000-2,500 square feet). However, the cleaning duration can vary based on several factors: your roof’s size, pitch, level of dirt accumulation, and the professional methods being used. If you’ve got extensive algae or moss growth, or your roof has multiple angles and dormers, the job could extend to 6-8 hours. Your contractor will provide a more precise timeline after inspection.
What Are Signs That Indicate My Shingle Roof Needs Immediate Cleaning?
You’ll know your shingle roof needs immediate cleaning when you notice black or green algae stains spreading across the surface, particularly on the north-facing side. Watch for moss growth between shingles, which can lift and separate them, causing potential water damage. Other critical indicators include visible dirt accumulation, clogged gutters, and granule loss. Don’t ignore dark streaks running down your roof, as they signal biological growth that’s actively degrading your shingles.